Enjoy!

Thursday, February 27, 2014

Manicotti and Cherry Blossoms

Double whammy today, folks! Food AND nail art! Woohoo! I'm going to share with you my FAVORITE manicotti recipe ever. I found a recipe for making your own, homemade manicotti noodles from scratch. Because the ingredients for the rest of the recipe looked a little bland, I decided to turn to The Pioneer Woman for her version of Three-Cheese-Stuffed Shells. It. Was. A perfect. Match.

Making the noodles from scratch is very basic. 4 simple ingredients everyone has in their pantry. They're really like crepes, except thicker. And more filling... Mmmm.... Sorry, I was thinking about the cheese-filling that goes inside of these later on...


To make them round, once you have the batter in the pan, just turn the pan in a clockwise motion while it's vertical. You want to be quick, though, because these babies cook really quickly.


Let's skip to what they look like after they're out of the oven... I felt that I didn't need to take pictures of the rest of the steps. Pioneer Woman does a great job of that already.


It was so... Good... Heavenly. Just heavenly. You pair Pioneer Woman's cooking with homemade noodles, and you've hit the jackpot.

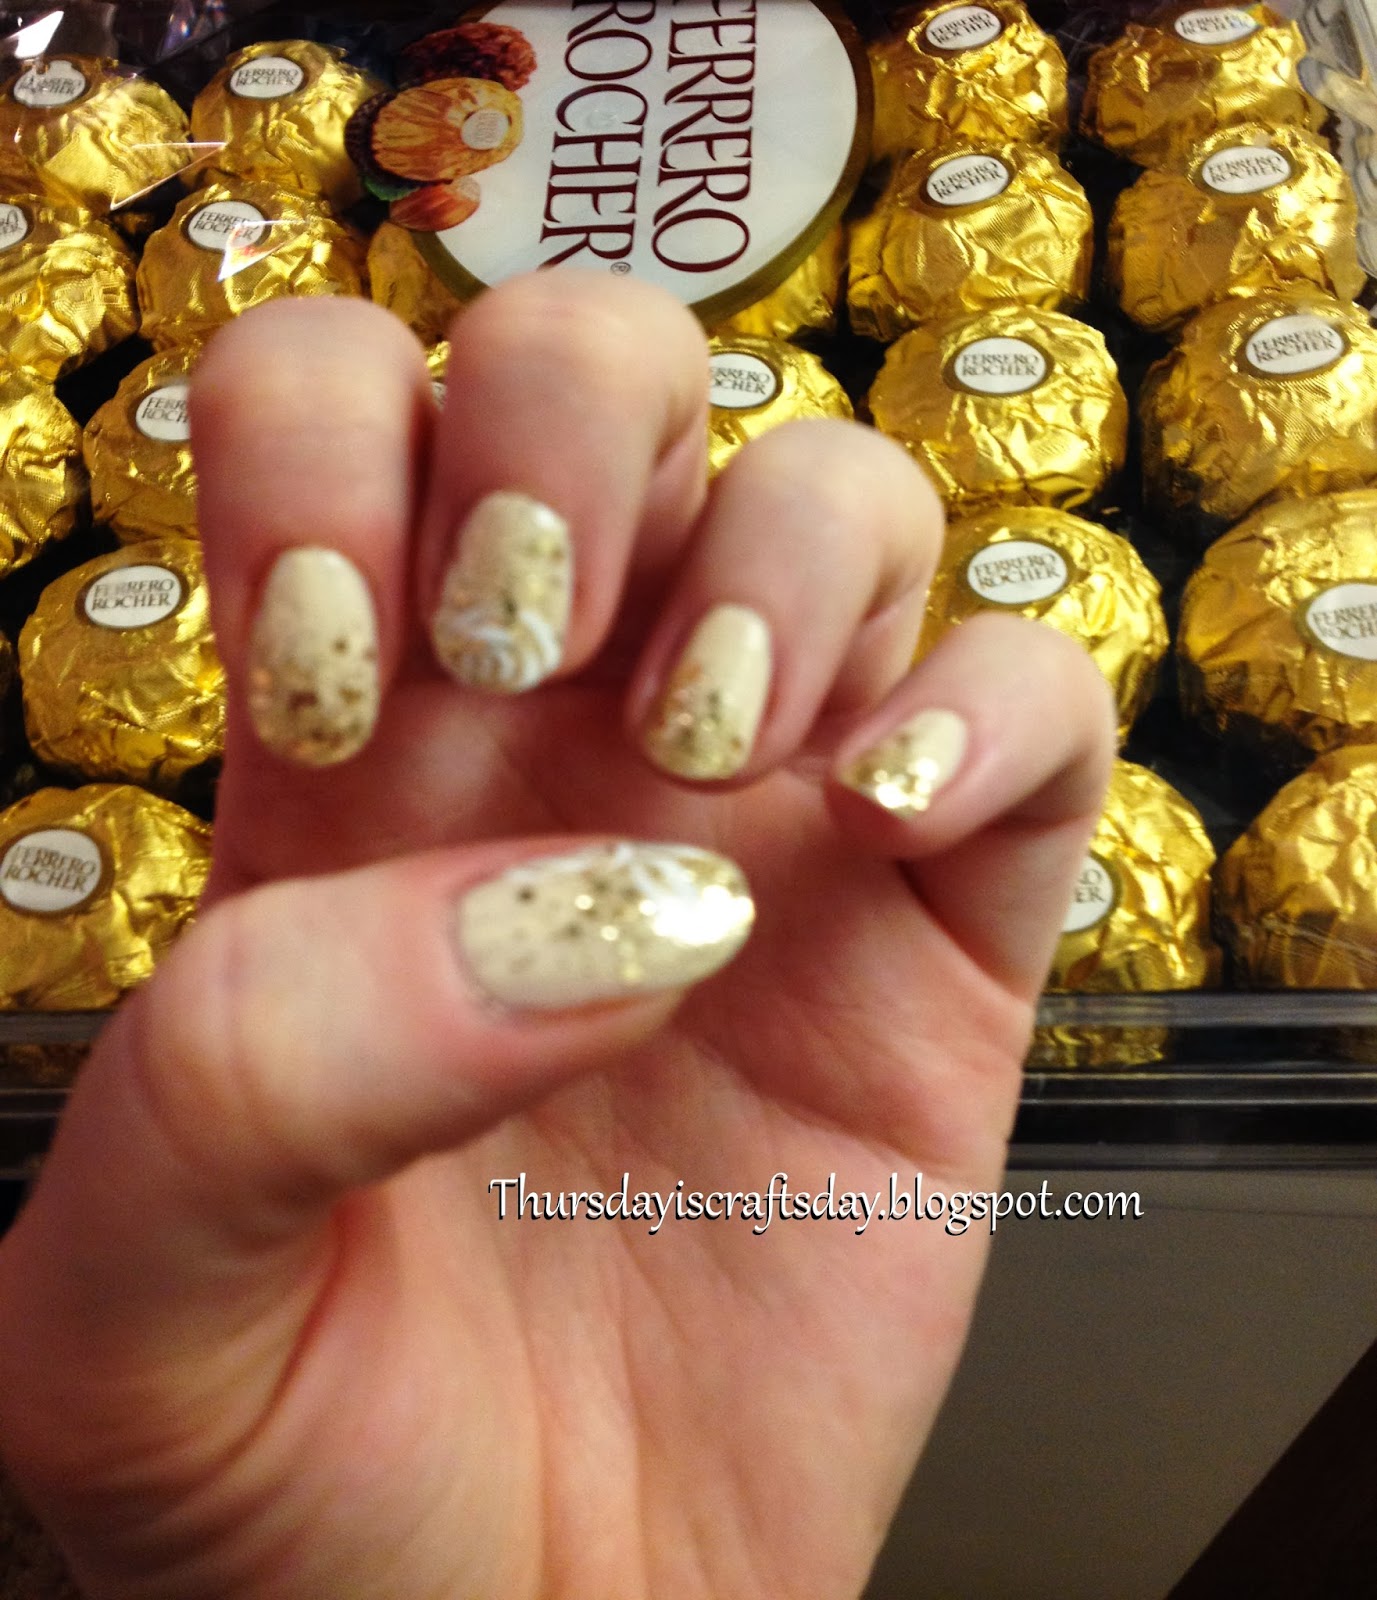
Because tomorrow is a big day for me, I needed to paint my nails to reflect what we're going to be doing:


Any guesses?


The color of my nails remind me of seaweed...


We're going to be learning how to make sushi tomorrow!! So I had to do a little cherry blossom theme on my nails. Granted, I only have white acrylic paint, so I improvised and used some beet powder from my mom to get the pink color. Worked out fairly decently, but I would have rather used a dark pink acrylic paint. The beet powder didn't create the dark color I was looking for. (I submitted my nail art to this link-up if anyone is interested in seeing more nail art ideas. :) )

It was hard to create those flowers. It was my first attempt at one-stroke gradient. It didn't turn out quite like I wanted it to, but it was a good first attempt. :) I'm trying to branch out... Pun unintended...

So I'd rate the nails a 3/5 for difficulty and the manicotti a 2/5. It was super easy; just time consuming.

Friday, February 21, 2014

Crochet! Or... Not... - Backup Nail Art Project

I've been re-teaching myself how to crochet. I found a project I haven't worked on since I was probably 15 and thought, "Why not?" I need to practice my skills so I can make a flower or some pretty thing to put on my little girl's monogram anyway, so why not practice with this?

I have NO idea what the previous stitch was, so I decided to just continue on with a double stitch. Yeah... Not the right pattern...


Here are only 2 or 3 rows done with the double stitch. The rest is who-knows-what (if anyone recognizes this stitch, please let me know what it is!)

Aaaaaand then my little girl got hold of it and unraveled it to what you see above. I was almost finished, dang it! My fault for leaving it in a reachable place. SO I've decided to show you what I've been up to nail-art-wise as a backup project!

I went over to my grandmother's house last week and did a lot of peoples' nails, some of which I've included here.


My aunt wanted a "Trigger Finger" theme done, and she wanted it "as wild and crazy as [I] can imagine... Except to remember that [she] still has to go to church tomorrow". So I recommended glitter polish, a different color every finger, but keeping a blue/purple theme. She has recently joined a gun membership club for women, so she wanted her "trigger finger" to stand out from the rest. That's why it's the only special/red nail.


She was very happy with the results.


My favorite color, which is quite hard to see from the pictures (taken at night by the way) is the dark blue on the pinky fingers. It was like midnight blue with pretty blue glitter. Too bad it doesn't stand out.


Then we've got the classic red nails! My cousin is going to a wedding and wanted the traditional, classy red.


These ones are a nice red base with red glitter. They were so shiny; the color reminded me of Dorothy's red slippers! And now we come to my favorite ones:


These were inspired by Valentine's Day. It was hard to make any small lines for the roses because I only have one nail art brush, and it's not the thinnest of brushes.. Behind the nails you can see what I received for Heart's Day....


Mmmmm.... My favorite chocolate in the world. Ferrero Rocher. (For those of you who do not know how to pronounce it, it's french [I think] and pronounced "Ferrero Row-shAy") There is no "r" pronounced at the end.

I'll probably try to finish the crochet square thing for next week's update. Or I might mend some of my husband's clothing... Or I'll do something completely different.
Thank you for reading/viewing! I love to hear from you, so please leave a comment. :)

Friday, February 14, 2014

"Tipping Jar"

Because of my nail art post, one of my good friends, Mei, suggested that I make a tip jar to help raise funds towards my $3000 goal. That's just what I did!

I just used an empty Nesquik container, measured how much fabric it'd take to cover it, sewed it, pulled it over...


and folded it a few times at the bottom so it can have pockets. That way I can give an incentive for everyone to tip me:


I've made a little sign that can be removed, replaced, re-written.. etc. After a while, I'd take out the money and count it to see who the lucky winner is.


Who would you vote for? 

Tips, please? ;)

Friday, February 7, 2014

DIY Yarn-wrapped Monogram

I bought a monogram - this wooden letter A from Hobby Lobby for $3. I had always meant to cover it with fabric, paint it, or wrap it with yarn, but I never got around to it... Until now. I decided to cover it with yarn.

There are a TON of tutorials on Pinterest that you can choose to follow. I looked at a half a dozen, so I won't bother singling a few out from the goldmine available. I will tell you, though, that my first inspiration was from this photo. I didn't make the connection that this would be difficult if I chose a Serif font...

Some yarn-wrapped letters are wrapped vertically, some horizontally, and some with a mix of the two. I liked the look of horizontal lines on the finished product.


Here are the materials I used... except I didn't end up using the flower. After I finished the project, I realized I didn't want to embellish it with that specific flower.


 Something that the tutorials don't always mention is how tedious it is to pull a long piece of cut string through holes. You want to wad up the yarn to speed up the process.


 Then you pull it through the hole... Just be careful not to make a big knot out of it. I stopped wadding it when the string was a little shorter than the length of my arm.


 First I started with the vertical lines. You don't have to wrap the whole letter from top to bottom multiple times like I did. It would have saved a LOT of yarn if I had just cut and glued the yarn about an inch long along the edges where the vertical lines would show.

I'm sorry, I thought I took a picture between the last step and the next step. Oops! Now you get to see the finished product!


 Yay! Finished! After a FEW HOURS of wrapping. :D
The next picture shows what the bottom looks like...


 As you can see, I had to glue some yarn in odd places to make the horizontal lines look uniform throughout the A. I like the pattern it made.


 I love this aerial shot. :) It looks so nice and uniform!


 Front side... (Again I had to glue the yarn in a little pattern where the A has a diagonal slope, near the lower-right side of the base. See the pattern?)


 This is the back. Still looks pretty neat. :)


 This wasn't a hard project at all. It was time-consuming, like the lampshade project. But this one was far more enjoyable. Maybe it's because my baby was asleep whenever I worked on this... Or maybe because I love working with yarn. I'd give it a 2/5 because of the patience-factor of this project.

I NEED HELP! Do any of you have any ideas on how to embellish this letter? I'm thinking of making a few of these flowers (or ones that are similar) as a backup plan, but I'd love to get some input from you guys. So please leave a comment - help a girl out?